> ## Documentation Index
> Fetch the complete documentation index at: https://docs.emby.ai/llms.txt
> Use this file to discover all available pages before exploring further.
# How to automatically share links to customers after purchase
> Learn how to use the Custom Benefit to automatically share links with customers after purchase.
## Create a Custom Benefit
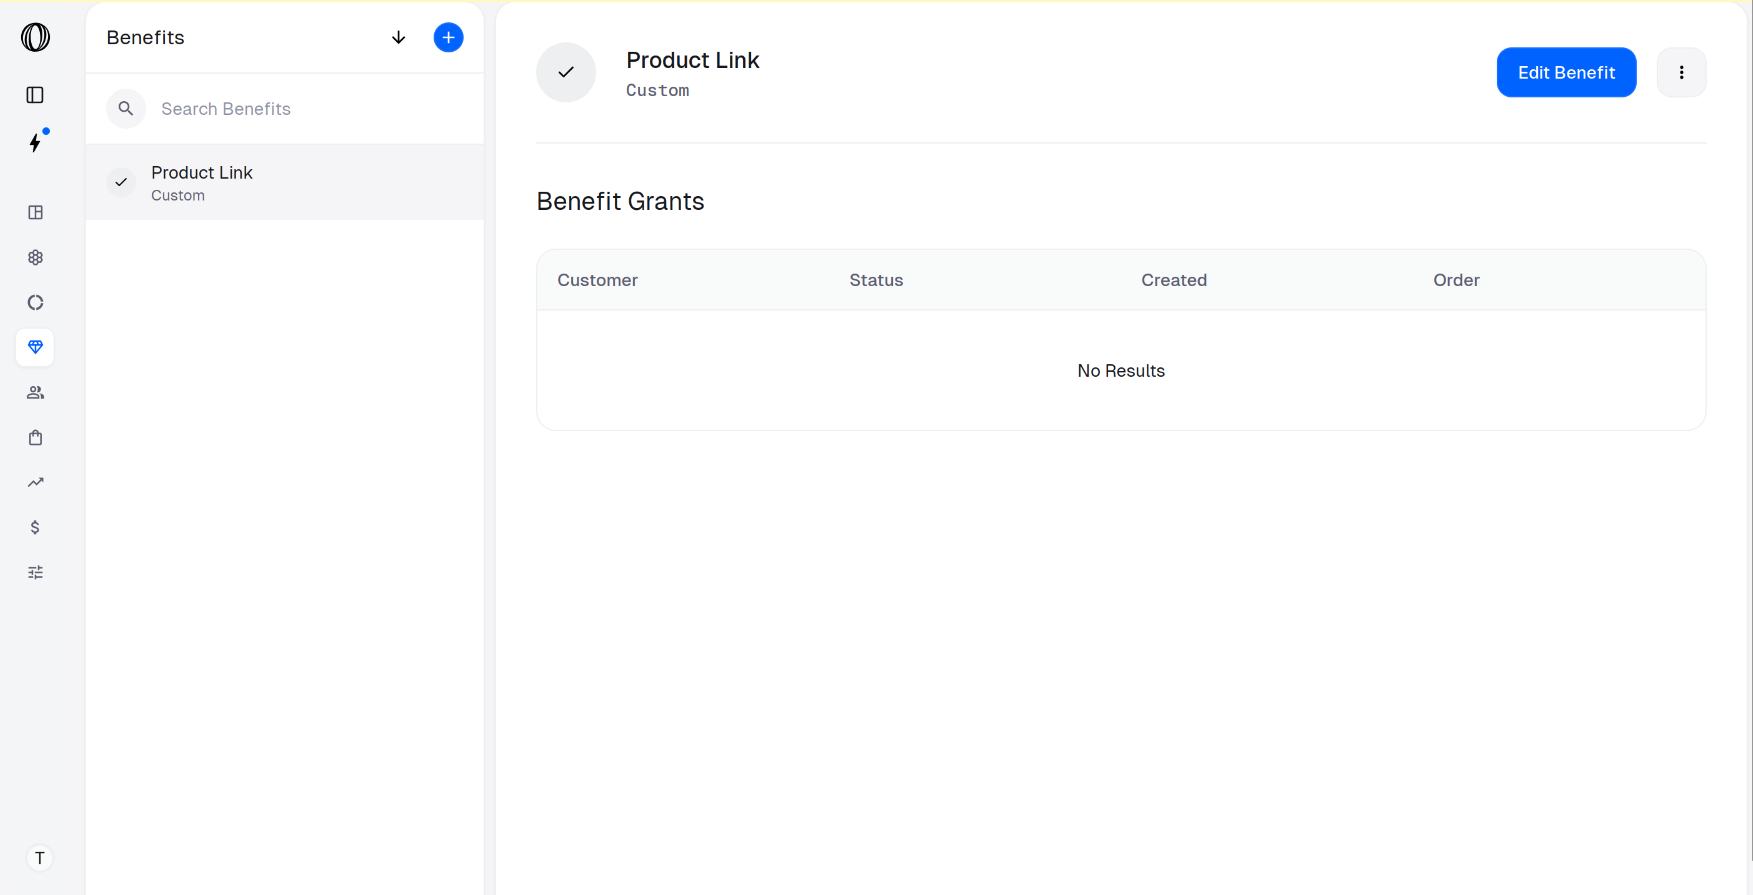
In the Polar dashboard sidebar, click on **Benefits**.
You can also go directly to `https://polar.sh/dashboard/${org_slug}/benefits`.
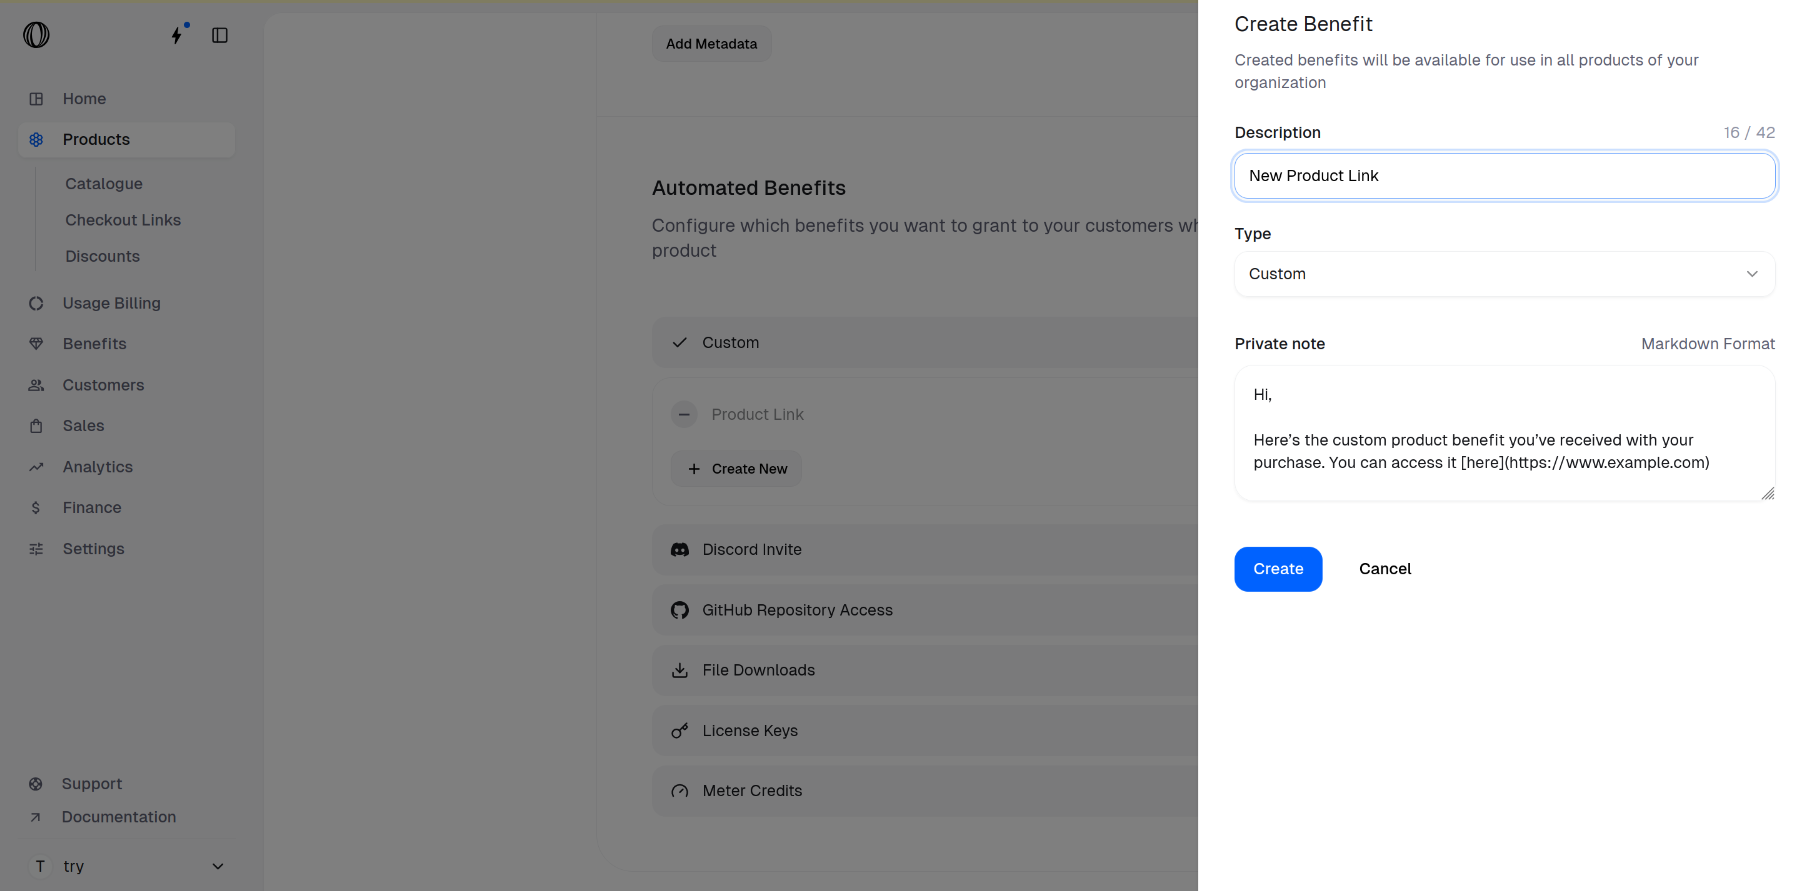
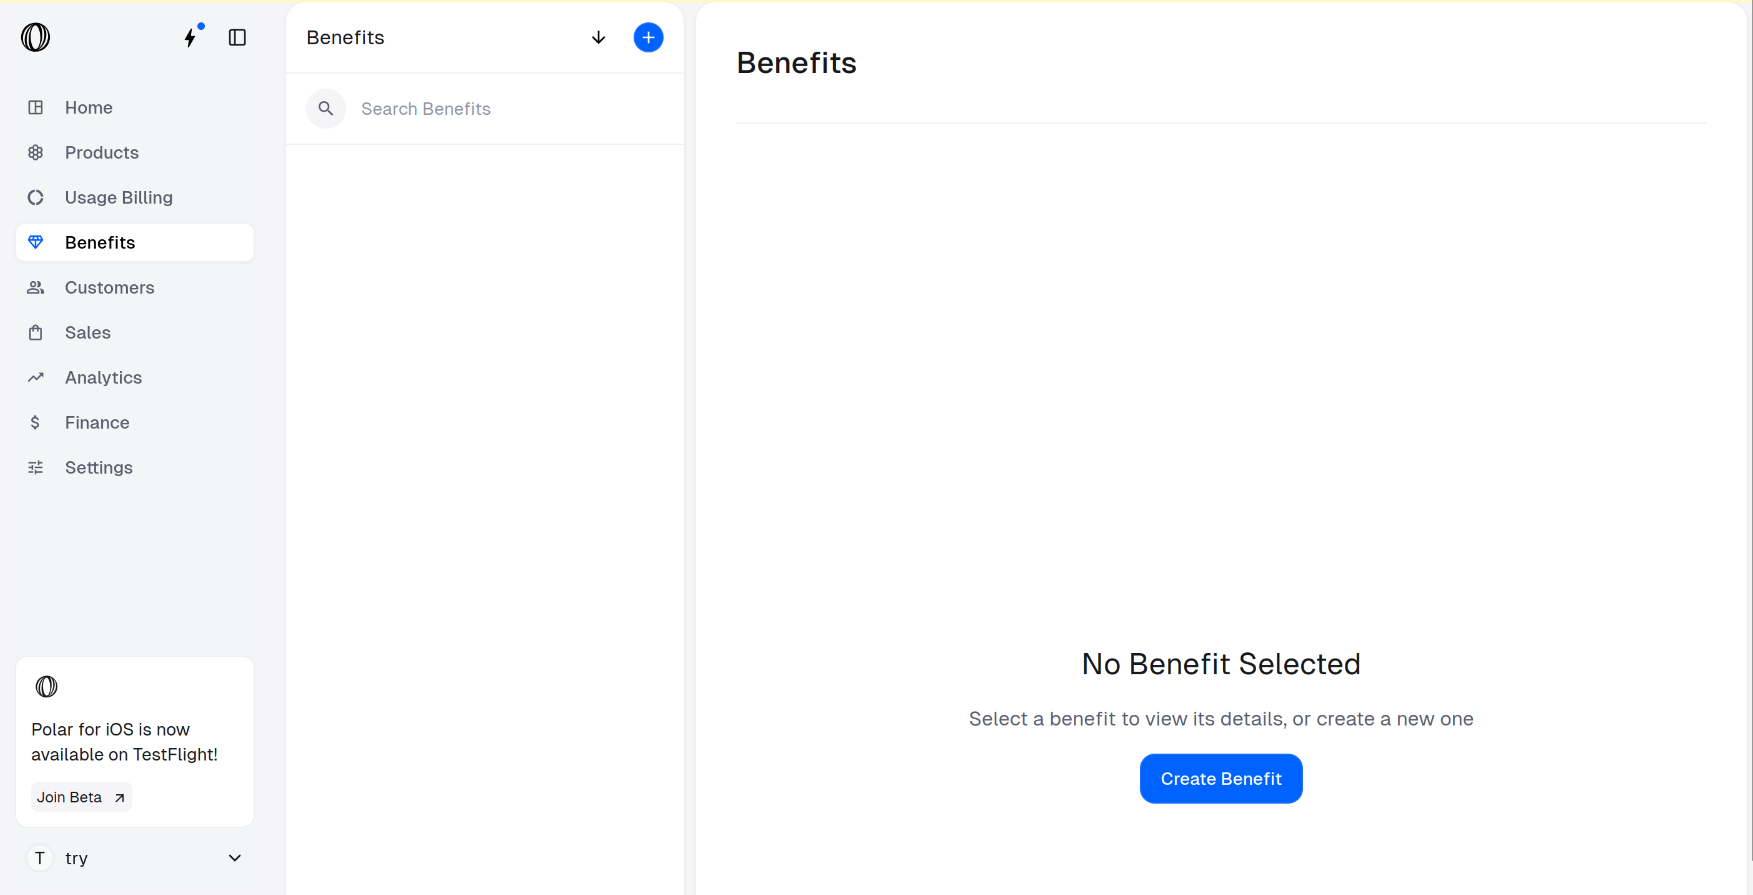 Click on **Create Benefit**. You’ll see three configuration fields as shown in the image below: **Description**, **Type**, and **Private note**.
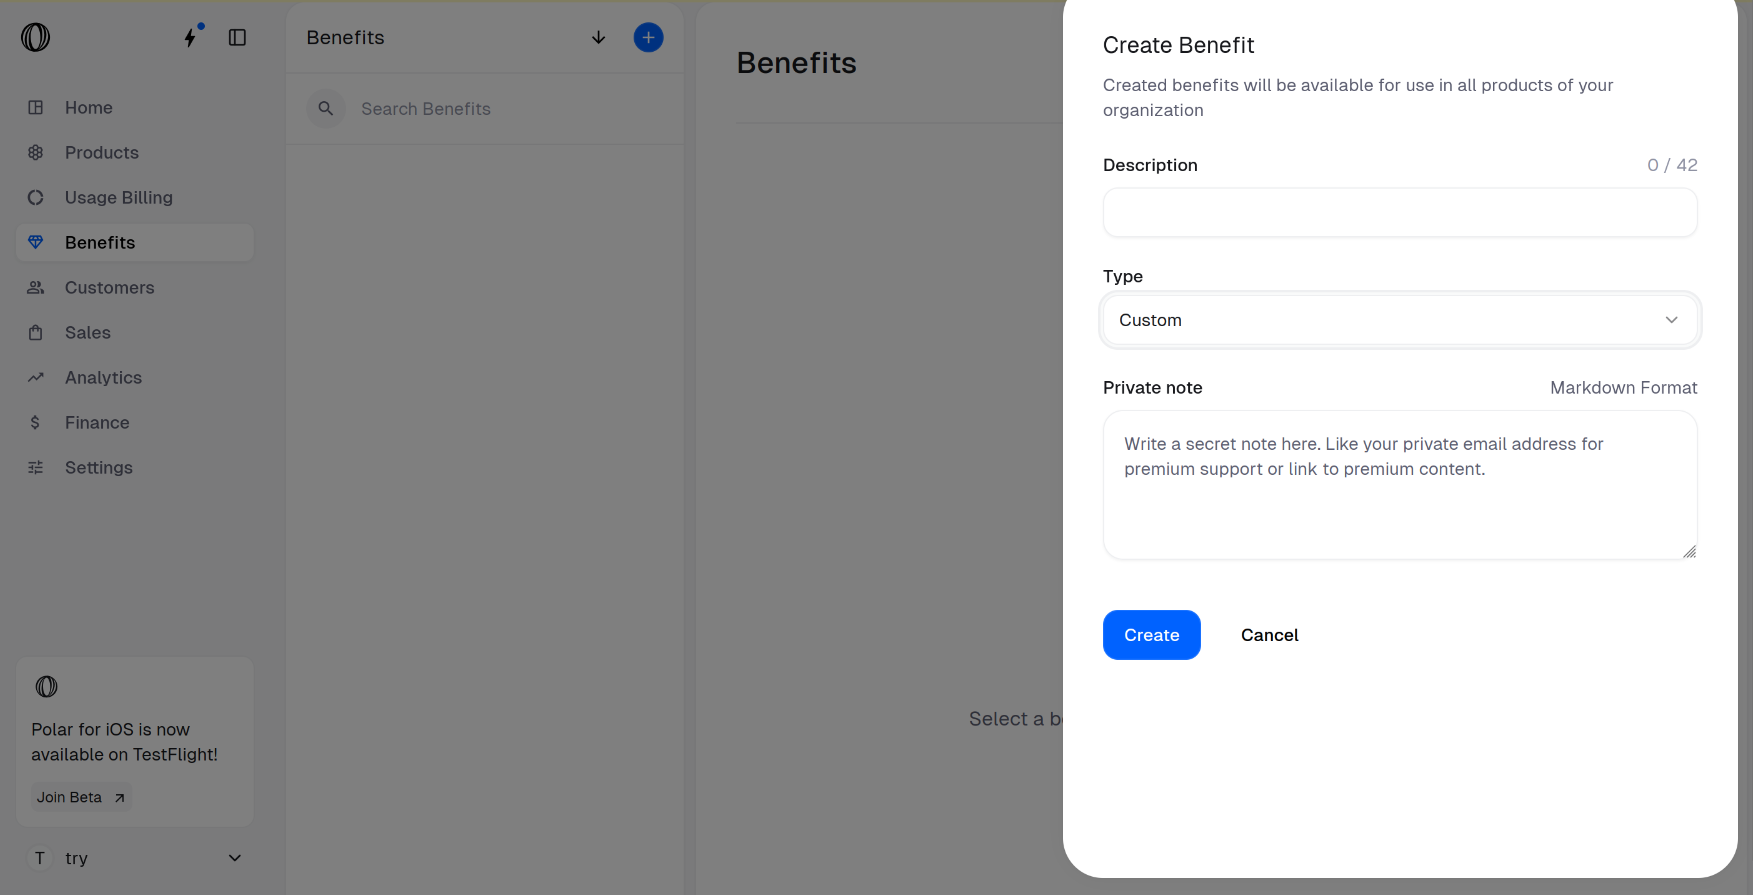 The **Type** field is set to Custom by default (which is what we need).
The **Private note** field is specific to the Custom **Type**. If you select a different **Type**, you’ll see configuration options specific to that type instead.
Fill the **Description** and **Private note** fields where:
* **Description** accepts regular text and is the title of the link that you want to share with the customer.
* **Private note** uses the [Markdown format](https://www.markdownguide.org/basic-syntax/) so you can format text, add links, or lists.
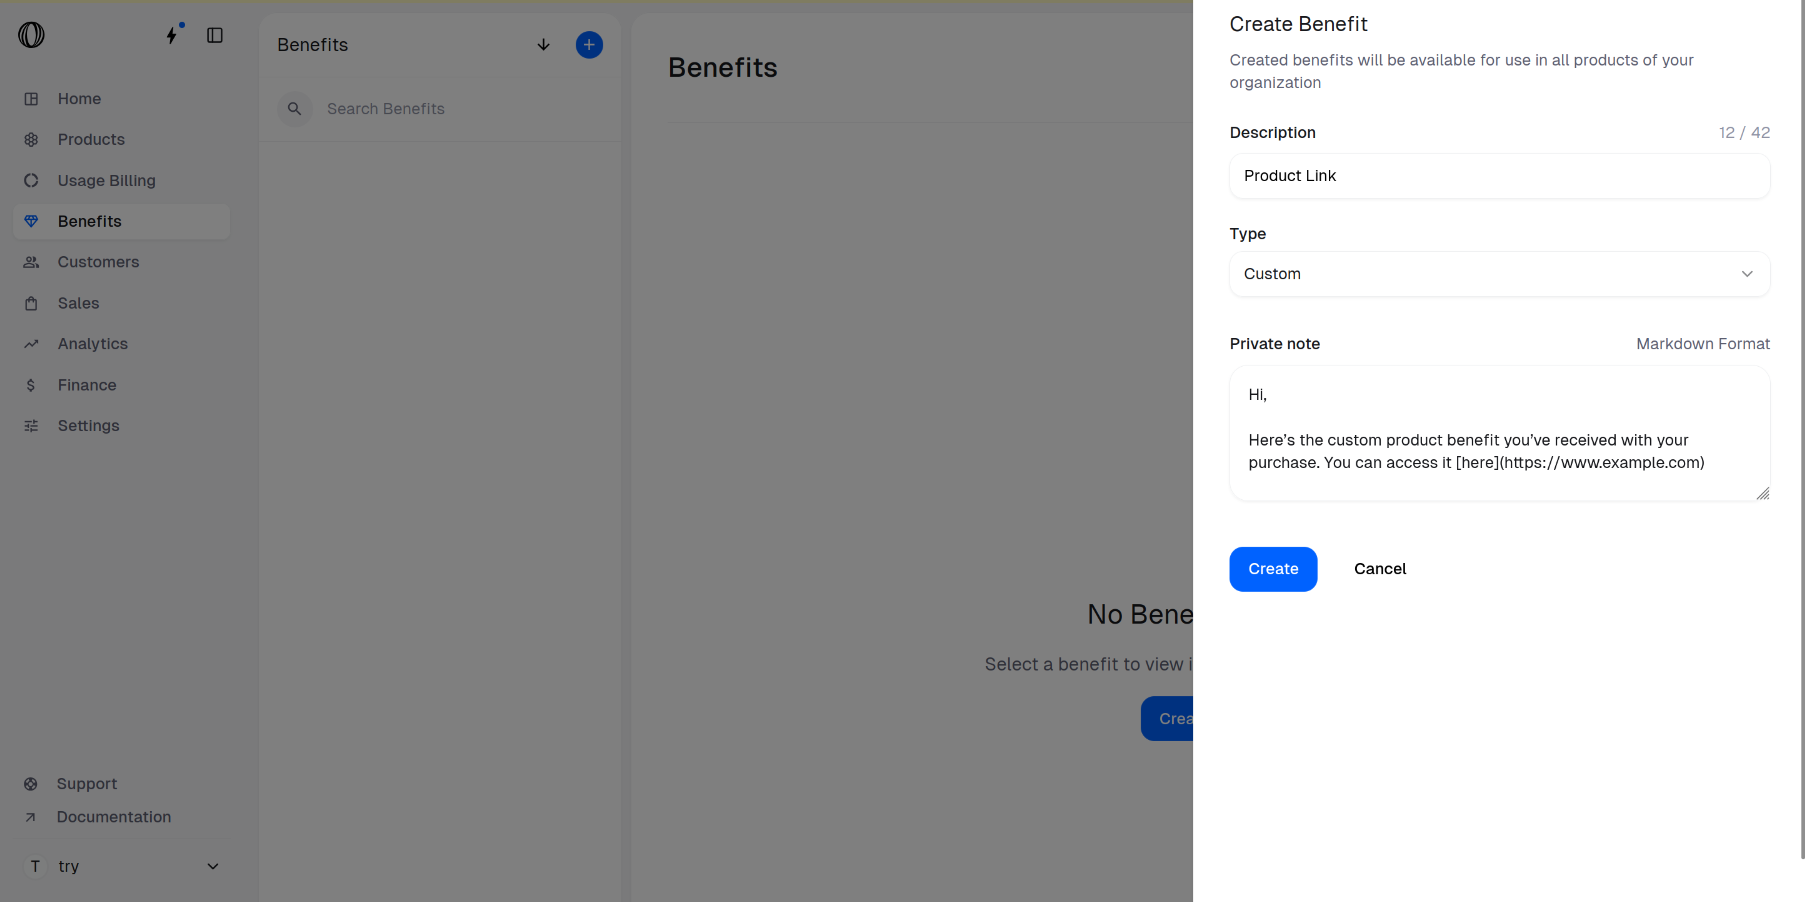
Make sure to add your link inside the **Private note** section so that it's only accessible post a payment.
Then, click the **Create** button to save the configuration.
The **Type** field is set to Custom by default (which is what we need).
The **Private note** field is specific to the Custom **Type**. If you select a different **Type**, you’ll see configuration options specific to that type instead.
Fill the **Description** and **Private note** fields where:
* **Description** accepts regular text and is the title of the link that you want to share with the customer.
* **Private note** uses the [Markdown format](https://www.markdownguide.org/basic-syntax/) so you can format text, add links, or lists.
Make sure to add your link inside the **Private note** section so that it's only accessible post a payment.
Then, click the **Create** button to save the configuration.
 ## Create a product using the Custom Benefit
In the Polar dashboard sidebar, navigate to **Products** > **Catalogue** for your organization.
You can also go directly to `https://polar.sh/dashboard/${org_slug}/products`.
## Create a product using the Custom Benefit
In the Polar dashboard sidebar, navigate to **Products** > **Catalogue** for your organization.
You can also go directly to `https://polar.sh/dashboard/${org_slug}/products`.
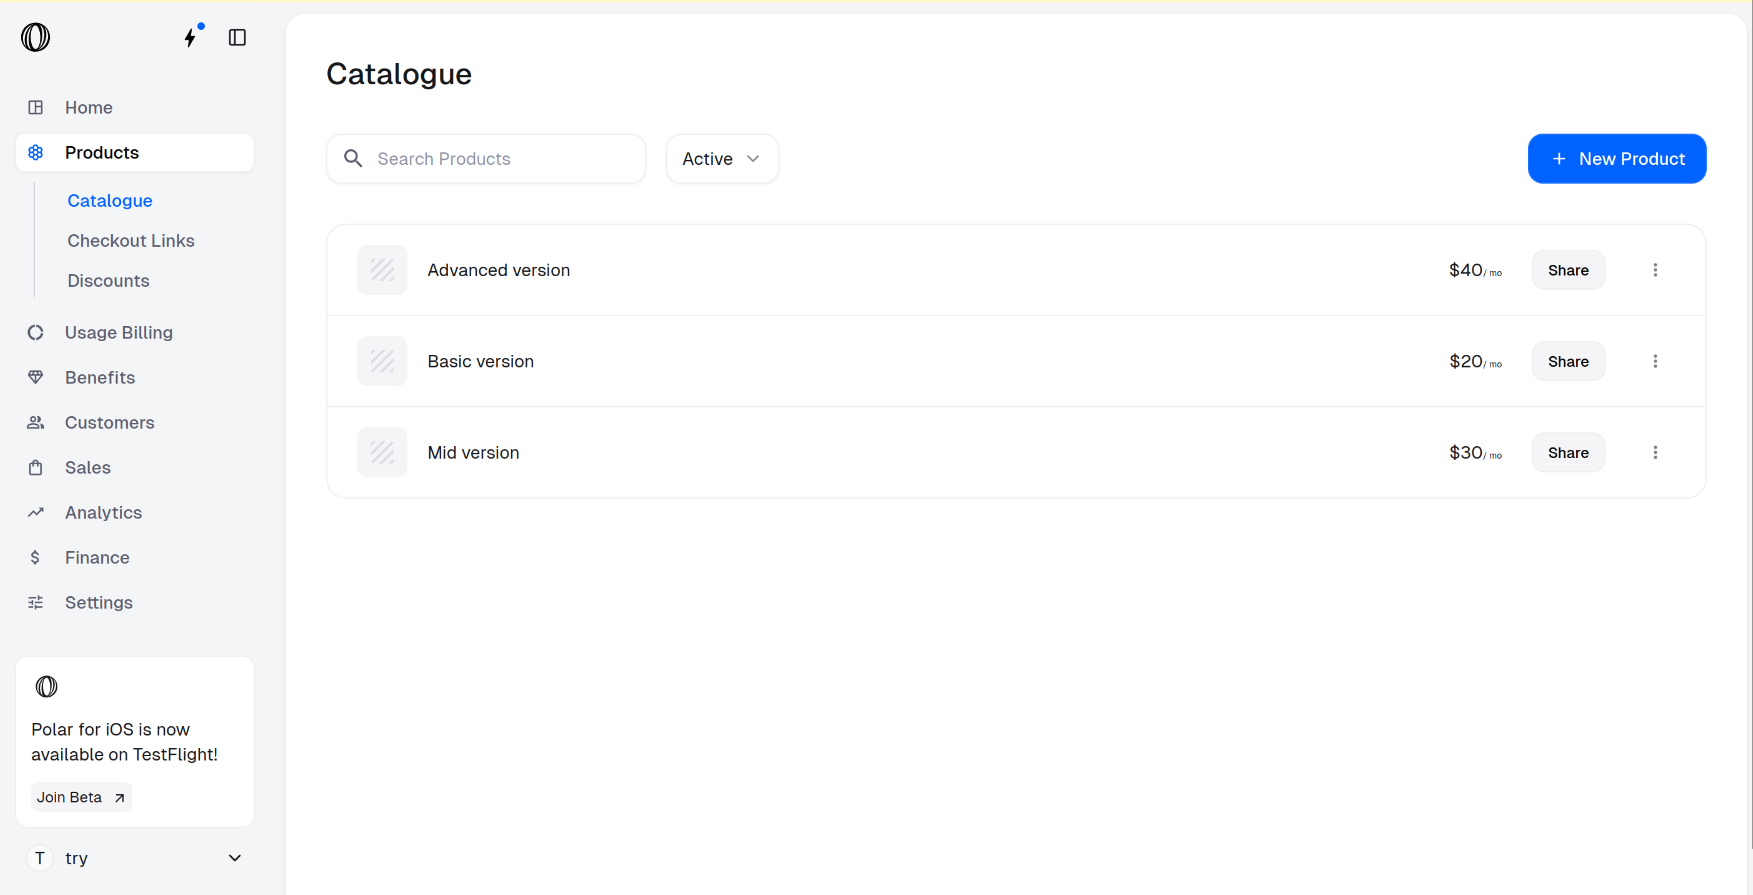 Click on **New Product**. Fill out the Product information.
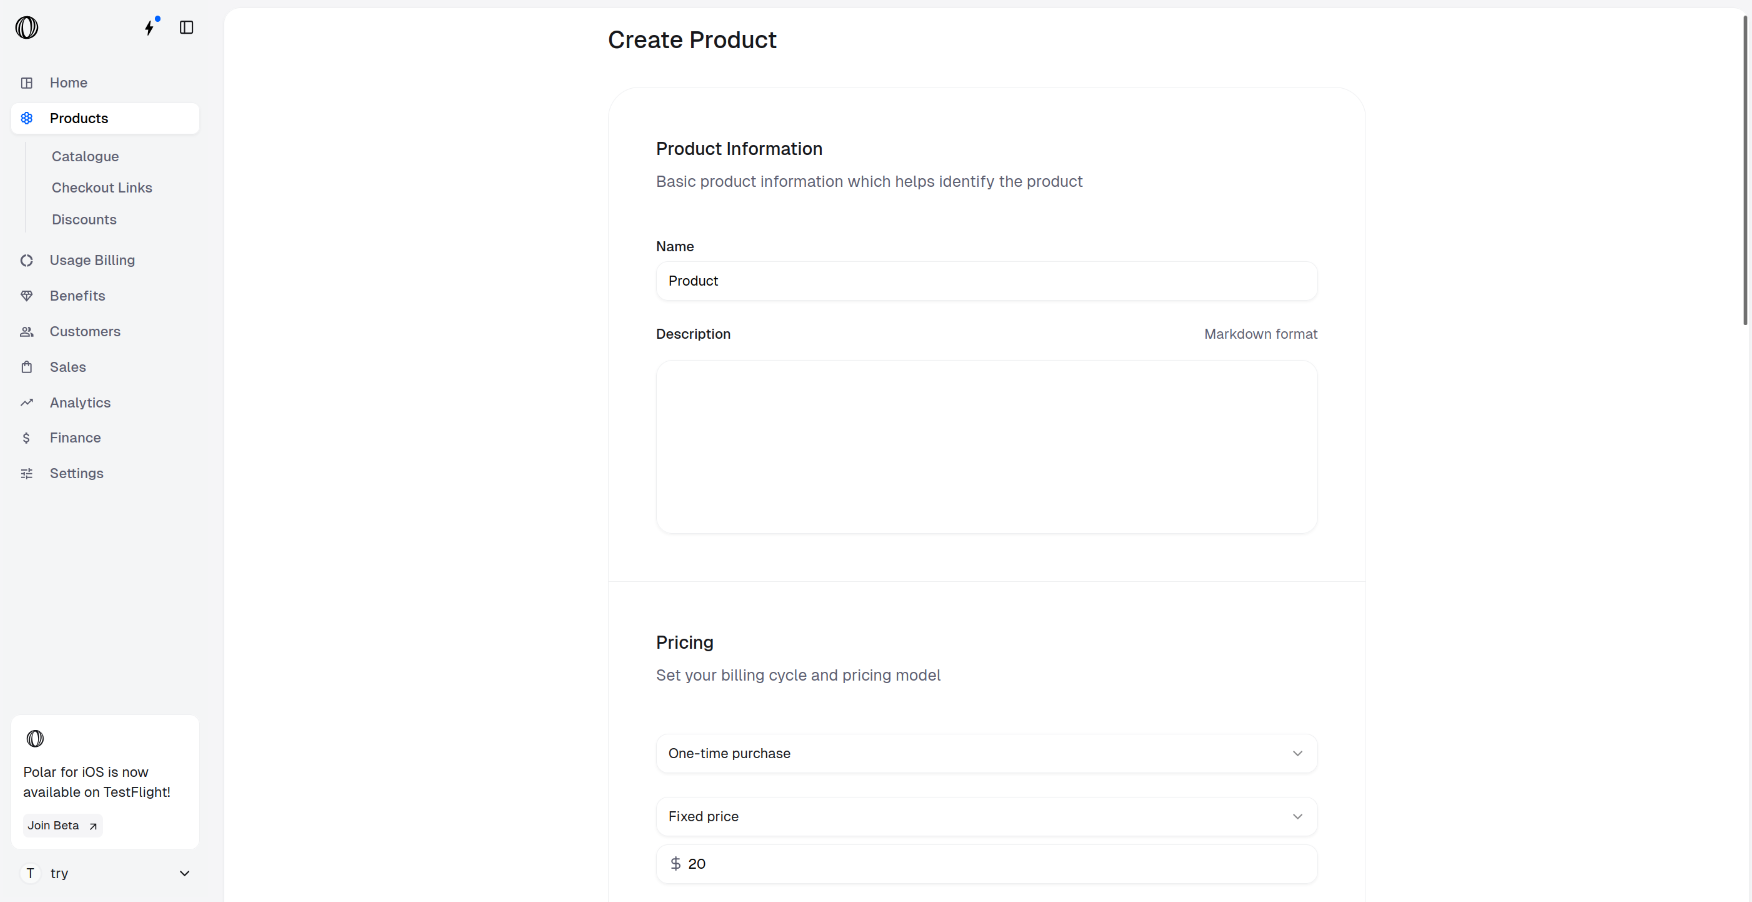 On the product creation page, scroll to the bottom to find the **Automated Benefits** section.
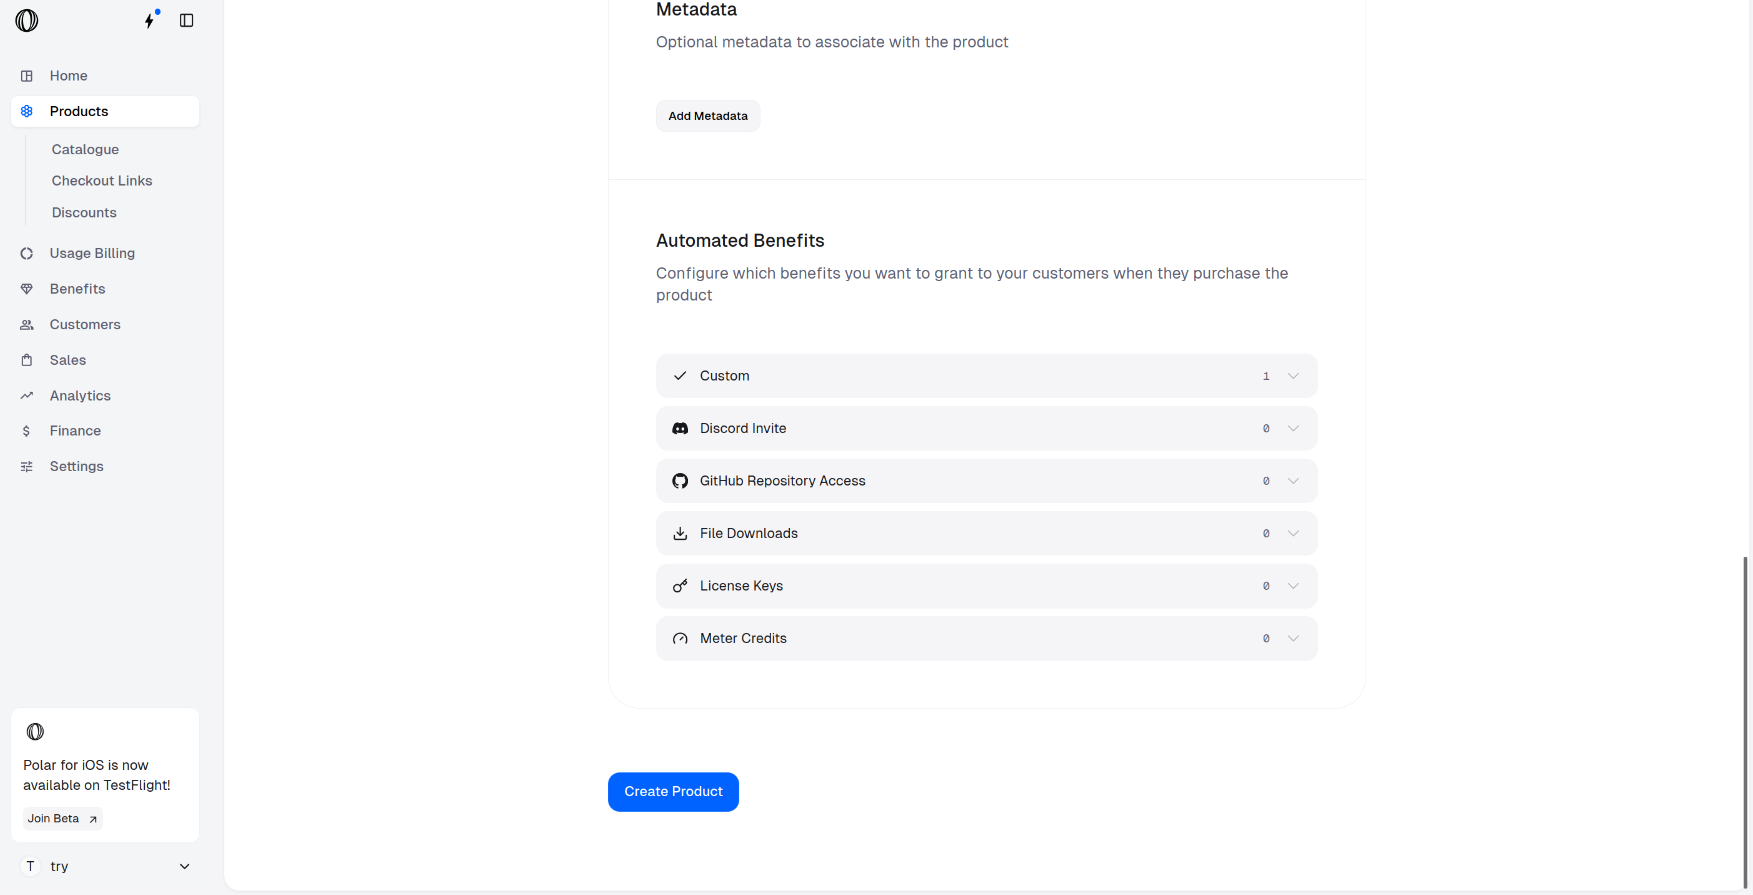 Click on Custom to see all the custom benefits you’ve created, and then toggle ON the one you want to enable.
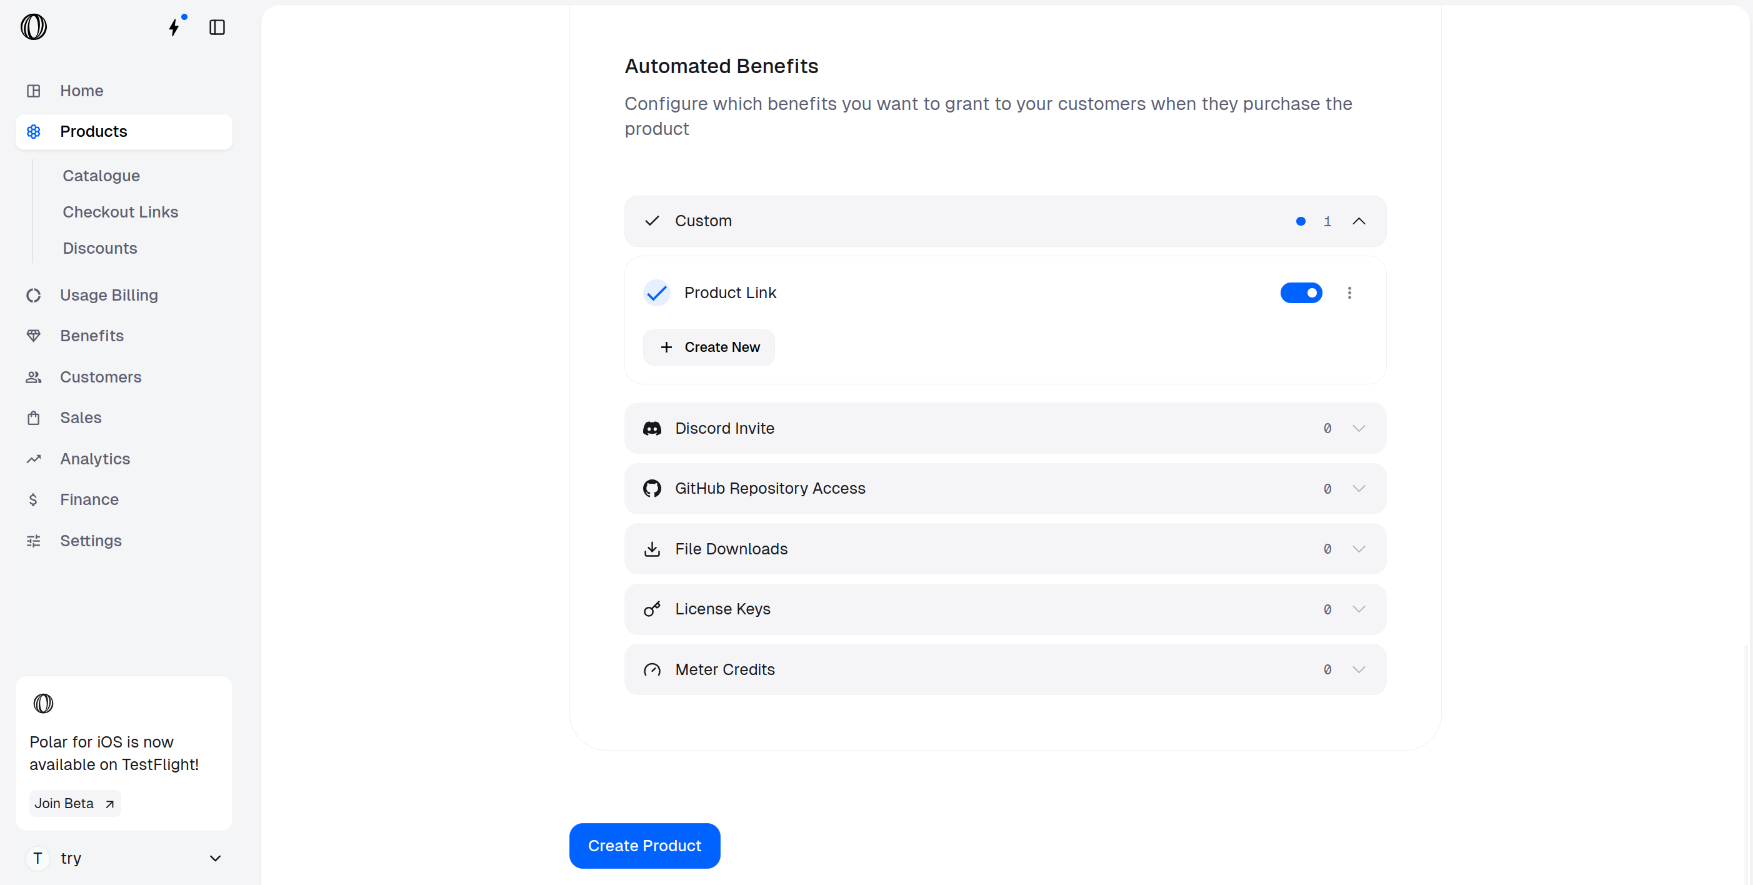 If you don’t want to use an existing Custom benefit, you can create a new one by clicking **Create new**.
Enter the configuration details, following the [Step 3](#configuration-fill) of [Create a Custom Benefit](#create-a-custom-benefit) section.
If you don’t want to use an existing Custom benefit, you can create a new one by clicking **Create new**.
Enter the configuration details, following the [Step 3](#configuration-fill) of [Create a Custom Benefit](#create-a-custom-benefit) section.
 Click on **Create Product** button in the product creation form.
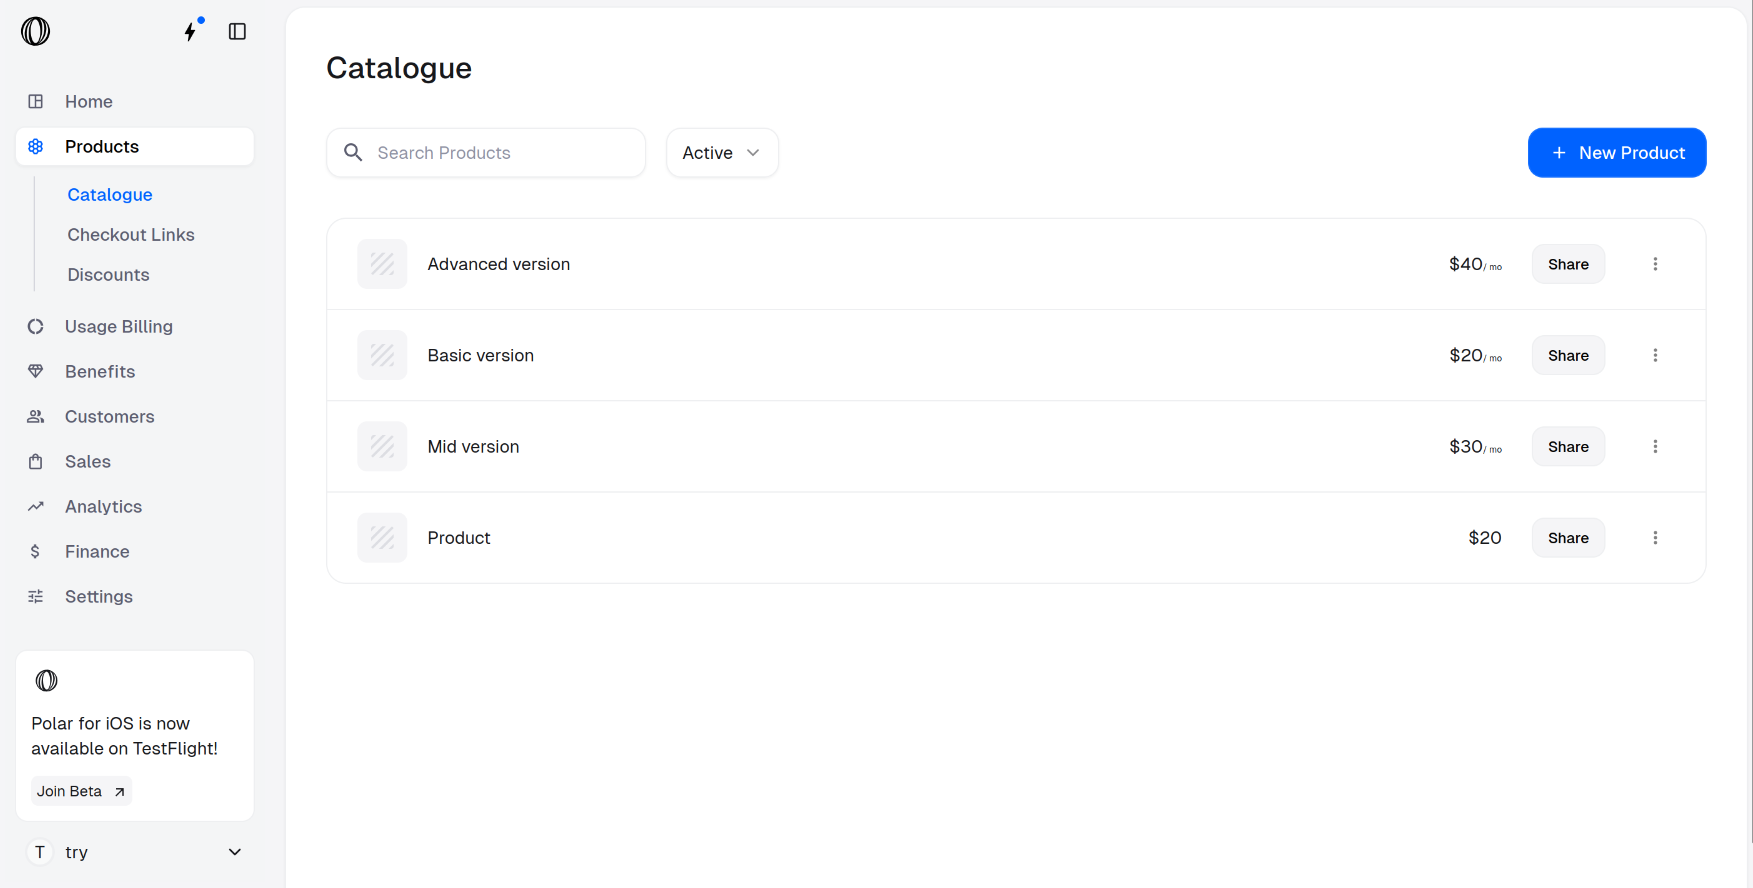 Your product is successfully created along with the Custom benefit that allows you to share the links automatically to customers after purchase.
## How the Custom Benefit Appears During Checkout
Your Custom Benefit is visible to customers at multiple stages of their purchase journey:
### Checkout Page
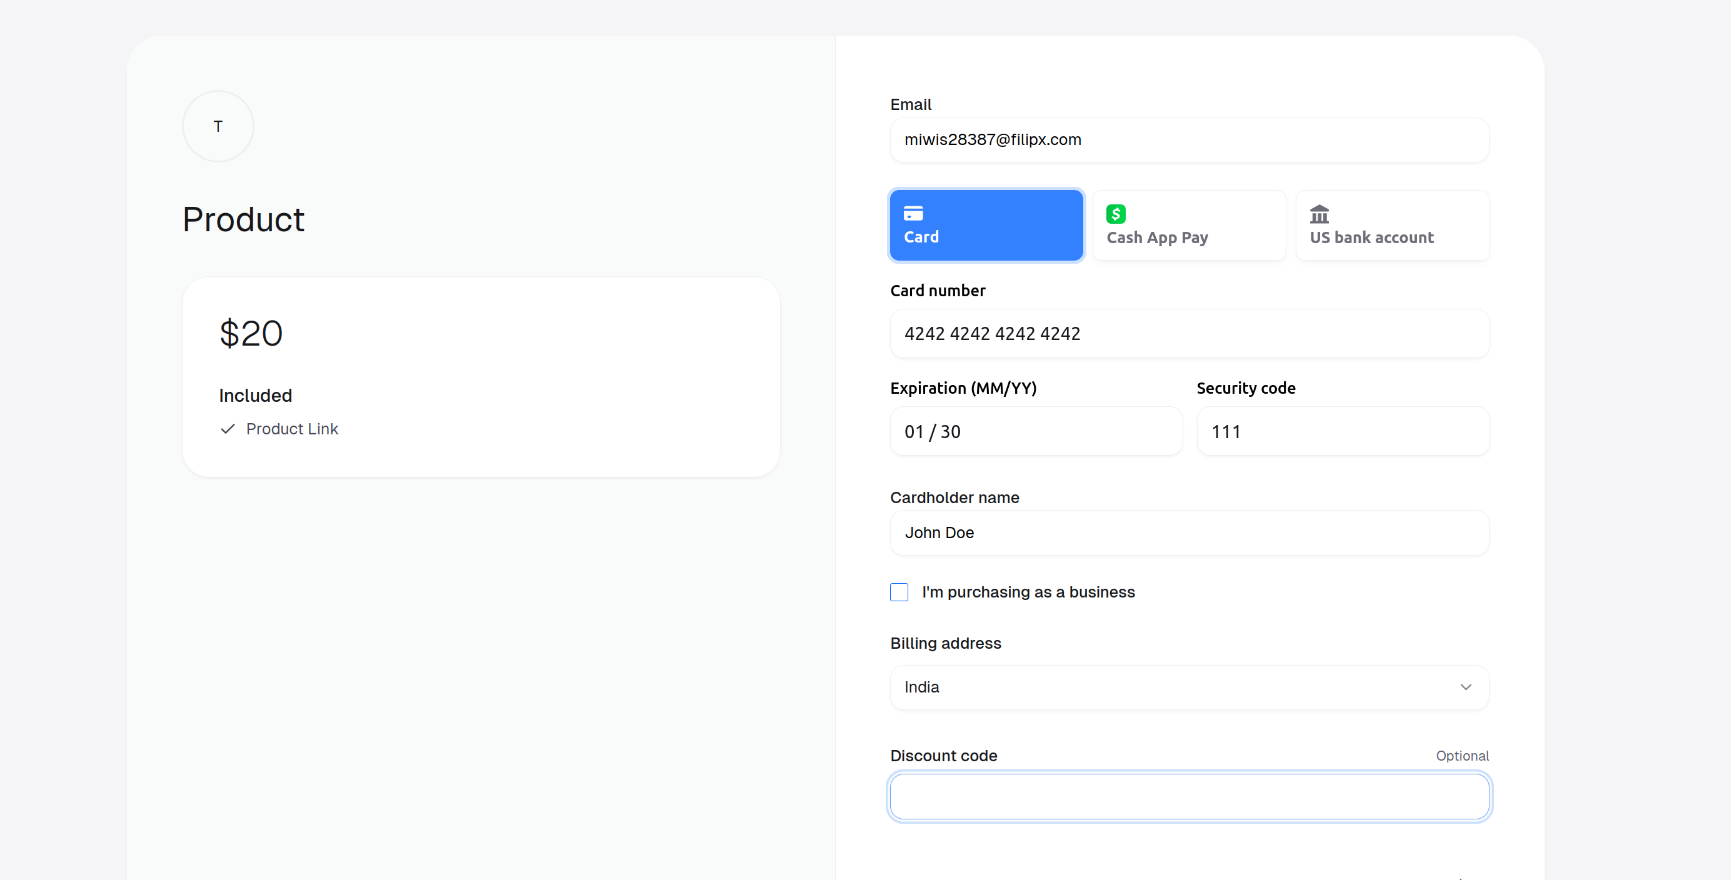
When a customer opens the checkout session, they’ll see the **Description of your Custom Benefit** listed under **Included**.
Your product is successfully created along with the Custom benefit that allows you to share the links automatically to customers after purchase.
## How the Custom Benefit Appears During Checkout
Your Custom Benefit is visible to customers at multiple stages of their purchase journey:
### Checkout Page
When a customer opens the checkout session, they’ll see the **Description of your Custom Benefit** listed under **Included**.
 ### After Purchase
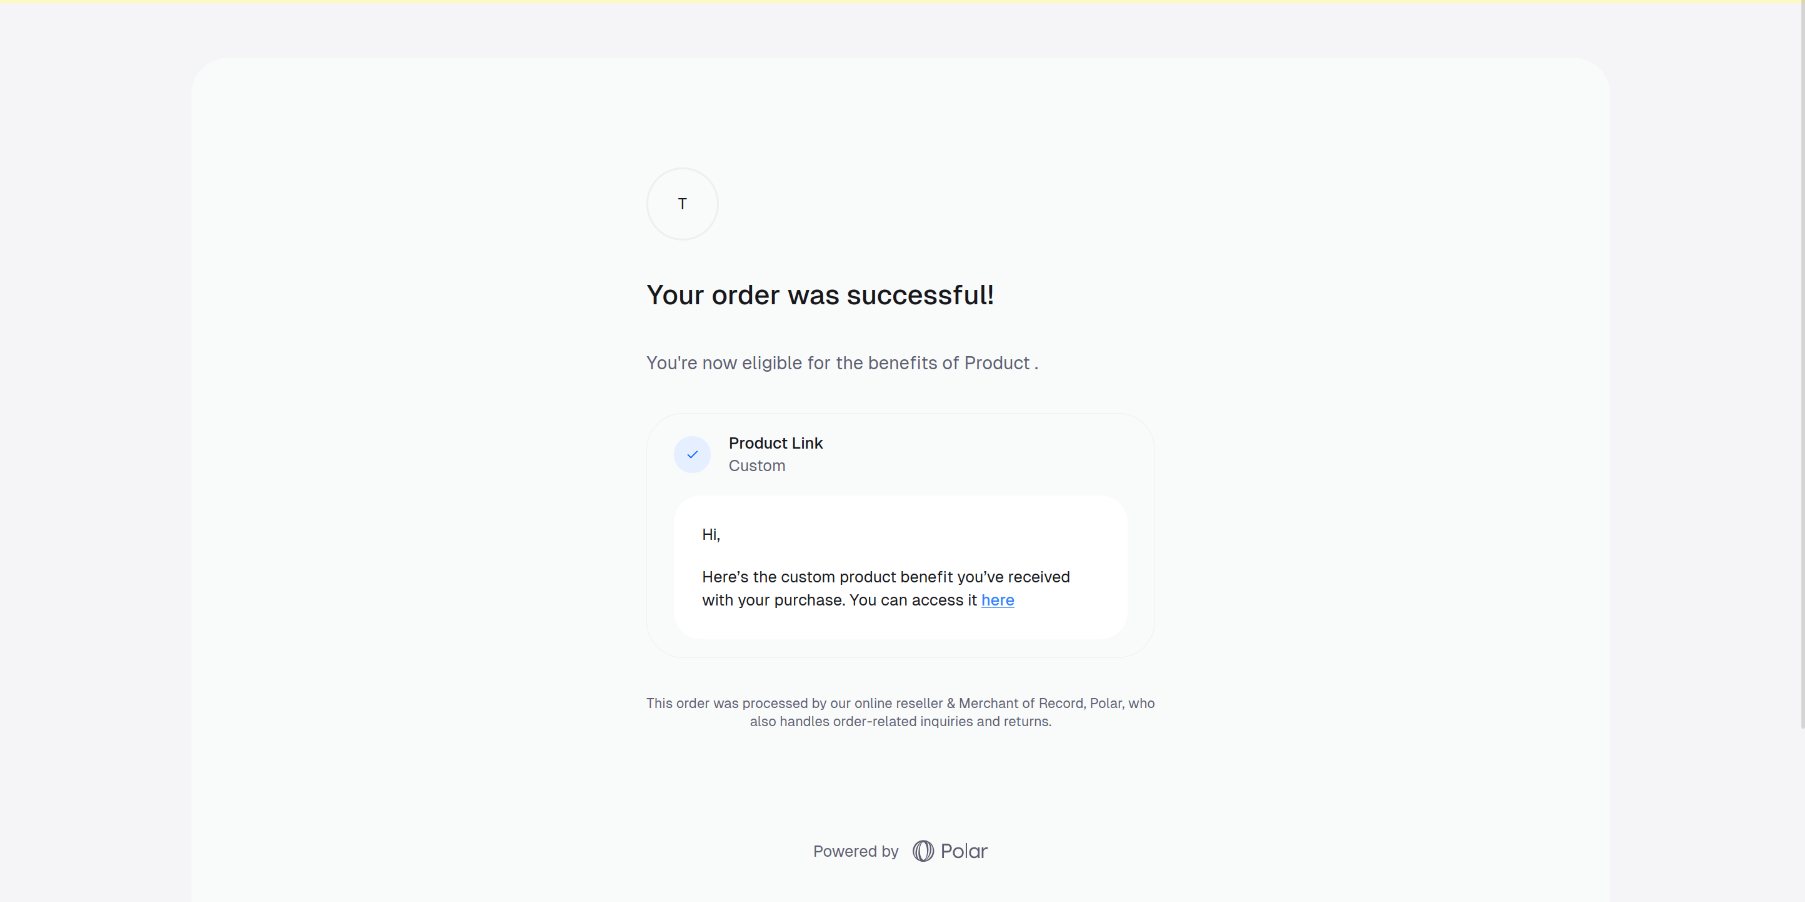
Once the customer completes their purchase, the **Description**, the **Benefit Type** (in this case, **Custom**), and the **rendered Markdown content** from the **Private note** of the **Custom Benefit** are displayed, allowing them to access any links or formatted text you’ve added.
### After Purchase
Once the customer completes their purchase, the **Description**, the **Benefit Type** (in this case, **Custom**), and the **rendered Markdown content** from the **Private note** of the **Custom Benefit** are displayed, allowing them to access any links or formatted text you’ve added.
 ### Purchase Confirmation Email
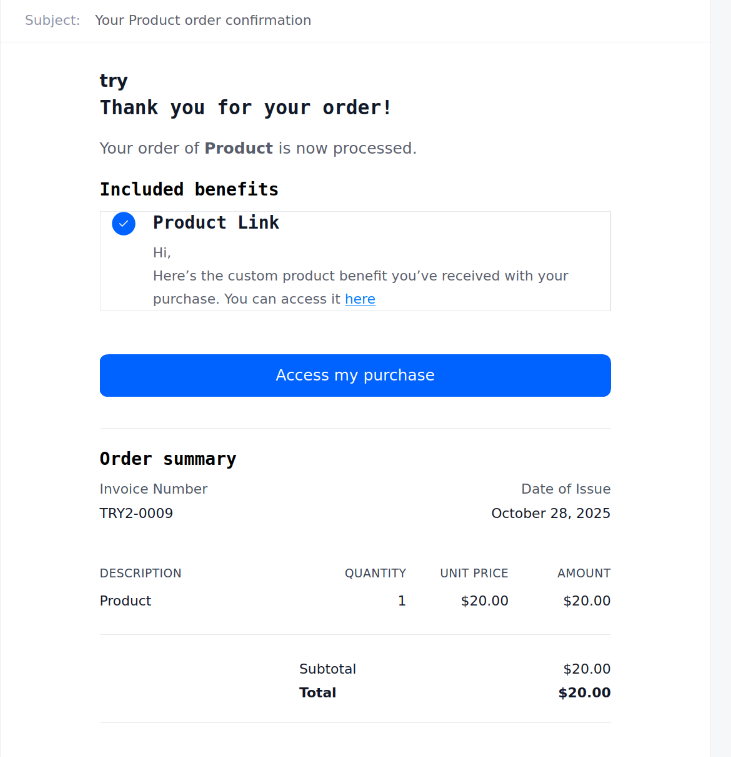
The **Description** and the rendered Markdown content of the **Custom Benefit** also appear in the purchase confirmation email sent to the customer, as shown below.
### Purchase Confirmation Email
The **Description** and the rendered Markdown content of the **Custom Benefit** also appear in the purchase confirmation email sent to the customer, as shown below.
 ### Customer Portal
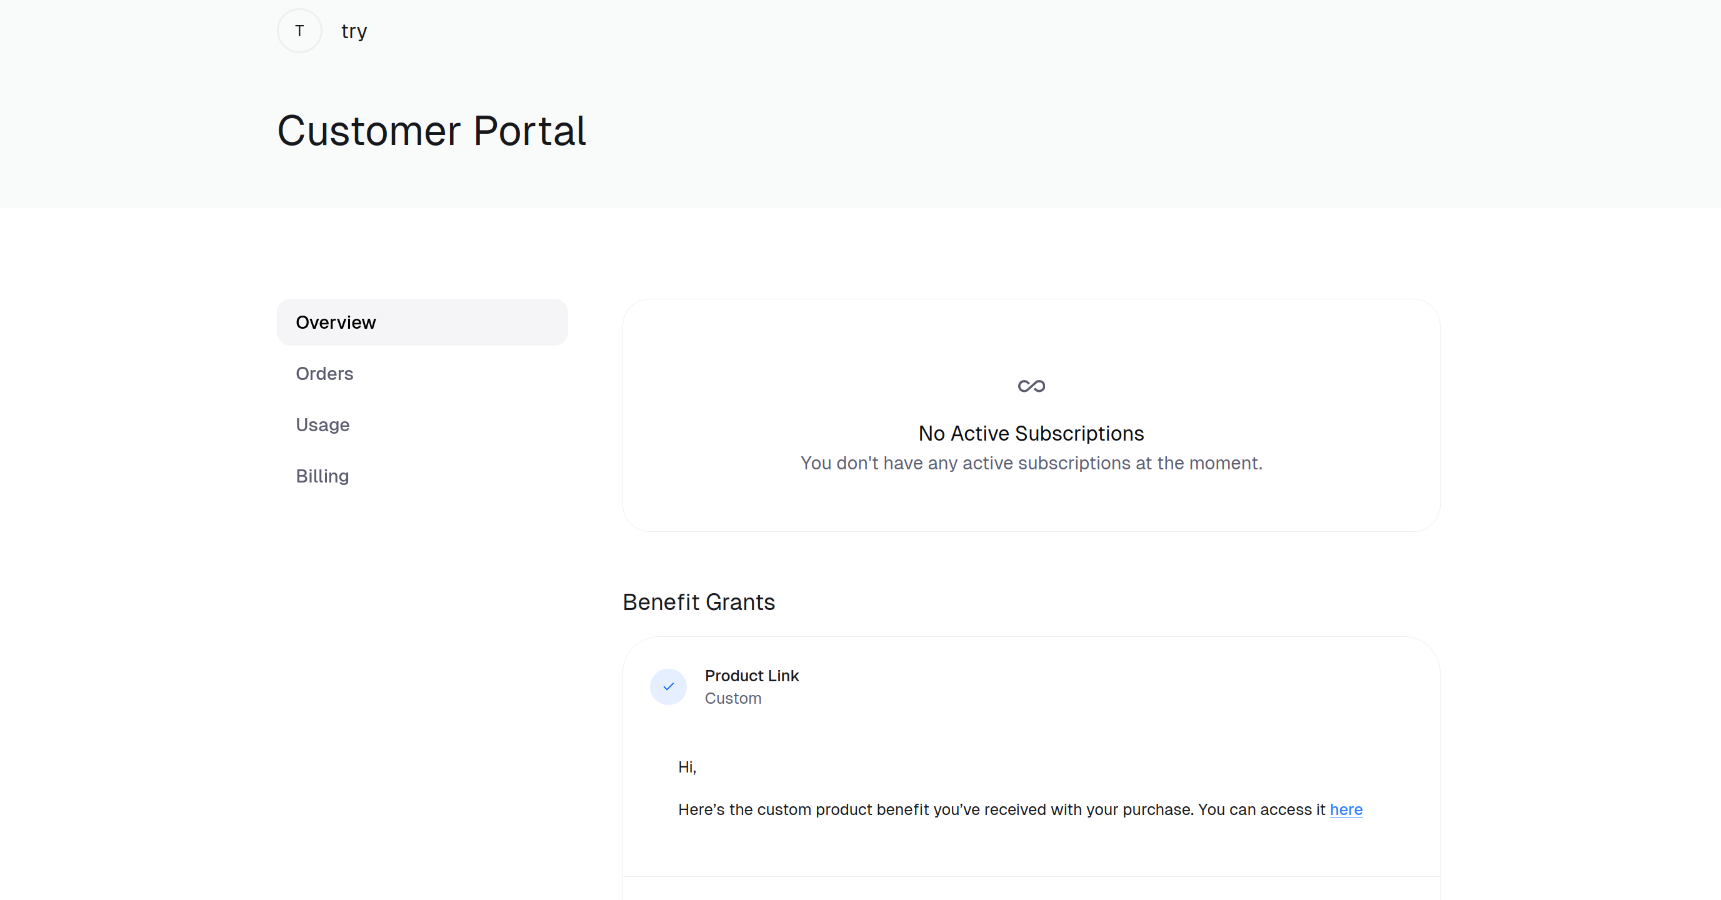
When the customer opens the [Customer Portal](/features/customer-portal) through the link in their confirmation email, the **Custom Benefit** is displayed there as well.
### Customer Portal
When the customer opens the [Customer Portal](/features/customer-portal) through the link in their confirmation email, the **Custom Benefit** is displayed there as well.